Create a new Restricted right user
23-Jun-2022 · Wing Au Yeung
Why create a Restricted right User?
You have a new teammate joining the company or you want to give the access right to other colleagues who can only access some of the functions for some of the staff in the system. You need to create a new account with appropriate permission.
Steps to Create new Restricted right User
graph LR
A[1. Create Entity Group] --> B[2. Create User Group] -->C[3. Create New User]
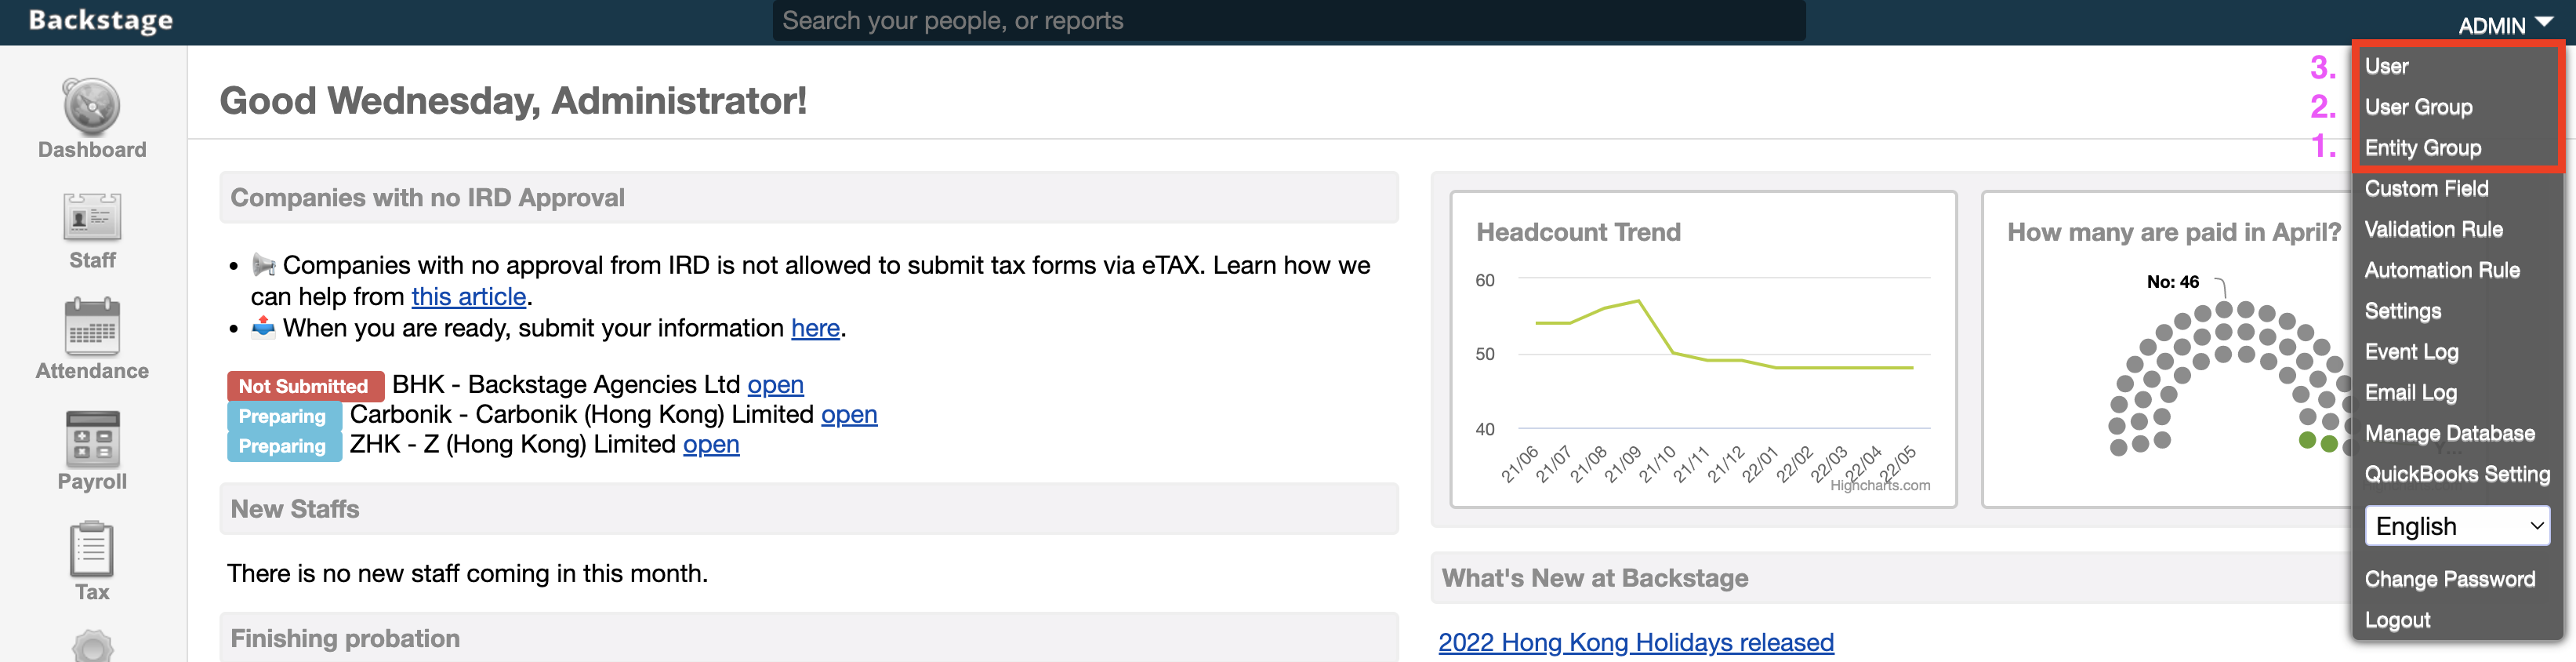
1. Create a new Entity Group
- Go to the System Menu-->Entity Group
- Add New and enable the Organisation and Staff can be seen by the user
- Entity Group defines the group of staff that can be seen by the user. If s/he can see all of the staff, then you no need to create a new Entity Group
2. Create a new User Group
- Go to the System Menu-->User Group
- Add New to create a new User Group(if the existing User Group is not useful)
- User Group defines what function the user the records the user can access for the group of staff. If s/he can access all functions for all of the staff, you no need to create a new User Group.
- Assign the Entity Group the User Group belongs to. You can see the Entity Permission at the end of the page
- Suppose Each User Group can only for one Entity Group
3. Create a new User
- Go to the System Menu->User->Add New to create a new user.
- Input the corresponding field
- Assign the User Group the user belongs to. The User Group would be shown after you create the user
What's Next?
- Log in with the new account to Check the setting
- Pass the User ID and Password to your (new) teammate
- Ask your teammate to change the password after logging in to the system
In this page